Sketching in Hardware 2013
/
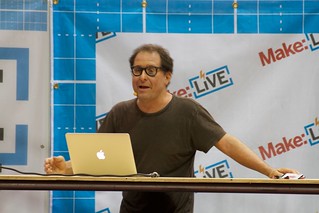
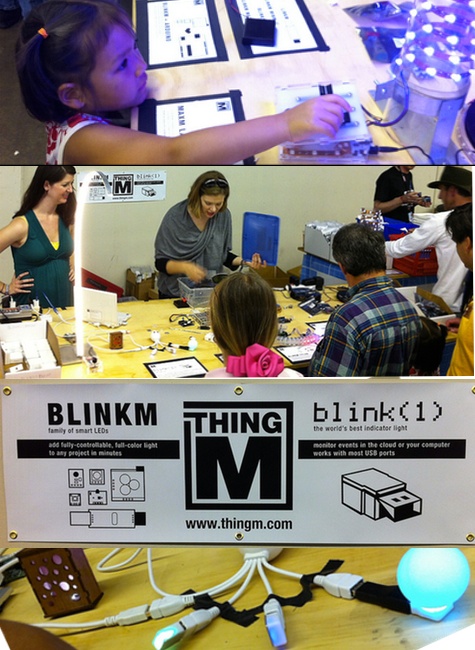
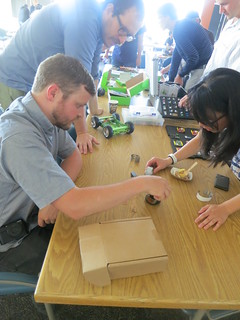 Last weekend ThingM sponsored, and Mike organized, Sketching in Hardware 2013, held at PARC--the legendary Palo Alto Research Center (where Mike's day job is). This was the eighth annual meeting of people developing tools that make creating with electronics accessible to non-professional engineers. We had a great group of people from as far as Copenhagen and Shenzen. Some were artists, others designers, many were scientists, engineers and university researchers. All were excited to talk about the tools that will make electronics more expressive, and more accessible. Since all 50 attendees gave a presentation (that's one of the rules of the event), there isn't space to summarize everything that everyone said, but here's a sample:
- David Mellis, of the MIT Media Lab, showed his Open Source mobile phone, and explained the philosophy behind it: the exploration of what happens when there is no distance between a prototype and the final product. Taking ideas of rapid iteration from agile software development and applying it, Dave concludes "If it doesn’t keep evolving, it’s dying."
- Robert Evans, one of the core Flip Video team, talked about how moving to scale (say 100K+ products) means not just convincing potential consumers that they need to invest in your product, but convincing every single supplier that they need to invest in your idea. It's not about buying parts, it's about getting everyone to believe that it's better to work with you than with ANYONE else.
- Katherine Moriwaki of Parsons described an amazing program to bring underserved kids together with technology and interaction design to explore new ways of learning and teaching each other. And she introduced a new Open Hardware board, the gadgITERATION noisemaker.
- Jason Kridner, one of the creators of the Beagleboard, argued that JavaScript should be the programming environment for experimenting with digital hardware experiences, and to prove it showed a prototype JS development environment that lets you do just that.
- Eric Paulos, of UC Berkeley, asked if the energy you use feels different when you know it was created by your child playing, and what it really means to be an amateur--a lover (from the latin root)--when participating in the invention of new technologies.
- Yoichi Nagashima, of Shizouka University of Art and Culture, showed a new board, the SUACboard, that brings together four common microcontroller platforms (including Arduino and Gainer) together to create the hardware mashup of the year, one which his students have used to create beautiful work.
- Jennifer Parker and Gene Felice introduced UC Santa Cruz's OpenLab, which mixes art and technology creation to create a fluid space where--quite literally--anything can happen, from data visualization to carpentry.
- Ed Baafi further pushed hardware development into the realm of software with Wiring++, which takes the core Arduino wiring library and adds concepts from modern object-oriented languages and operating systems, while keeping the whole thing tiny and lightweight.
- Josh Walton and James Tichenor showed the latest incarnation of Spacebrew, their interactive space choreography toolkit that integrates and synchronizes many devices running simultaneously to create a single experience.
- And finally, multiple presentations, from Steve Hodges, Yoshi Kawahara and PARC's own Janos Veres gave glimpses of the next wave of prototyping by showing off amazing inkjet printed electronics (in some cases with printers and ink you can buy today).
We could continue enthusiastically gushing, but instead we'll just point you to the presenters' presentations, available from sketching-in-hardware.com/2013/presentations (currently the presentation is pretty raw--just a directory listing--but we'll get a designed page up there eventually).




 Whew,
Whew, 